DIY IPhone Photo Projector - Easy as 1-2-3
I know what you're thinking. I know exactly what you're thinking.
You're thinking that this is the coolest thing you've heard about!
It's really cool.
I mean, you can make your very own home made projector. And it's not going to cost you a single penny. Well maybe $1. For the magnify glass. That's nothing!
I pretty much had the same reaction as you. First that's it's pretty cool and second, that it literally won't cost me a thing! Luckily I had everything I needed in my house already.
Putting the projector together took no time at all. In about 20 minutes, I was done and I was ready to start the magic!
Here are things you will need:
- A Shoe box
- Box cutter/or scissors
- Magnify glass
- Duct Tape
- And a cell phone
The instructions are simple. Cut a hole the size of the magnify glass onto the shortest side of the shoe box. Using the duct tape, secure the magnify glass. That's really all the labour you have to do with that. But the cell phone was a different story.
I used my IPhone for this project. It really doesn't matter what cell phone you use, as long as you can crank up the brightness, highly important!
I chose to manually hold my phone. It was easier to focus the image that way. I also had my screen on lock mode so the picture wouldn't switch directions. IMPORTANT* flip your camera so that the image is upside down.
Now that you have done that. You should now be turning off all the lights, closing the curtains and making sure that the room you are in is as dark as it can be.
Find a wall. Preferably one that has a lighter paint colour and isn't cluttered.
Now point your new projector at the wall. You should see an image!
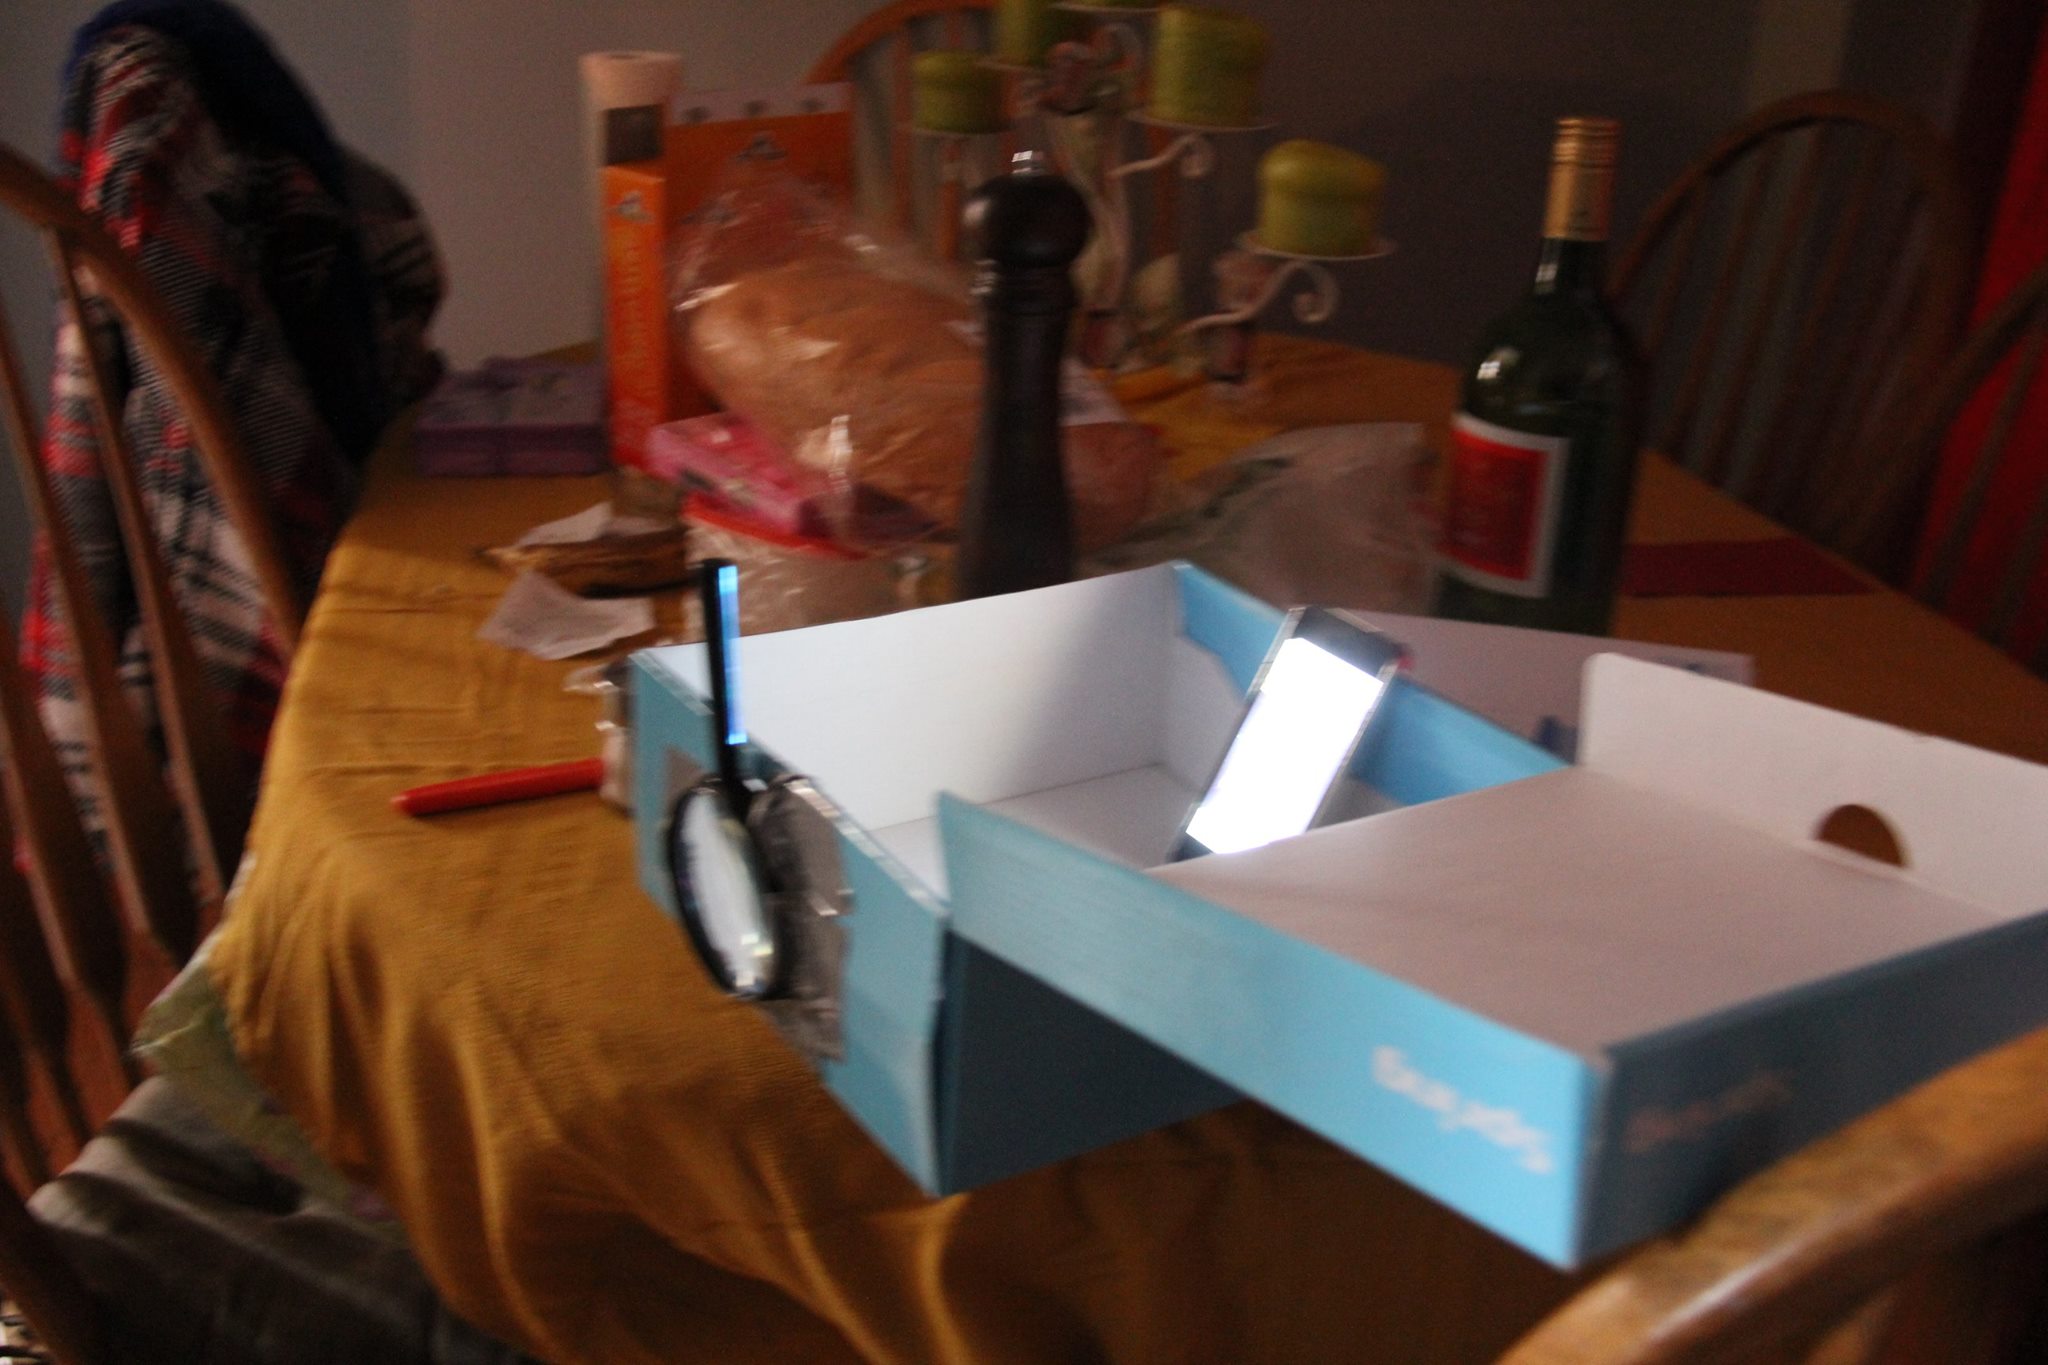
This is how it looked! It's pretty cool. I was really fascinated doing this.

So, what did you think? Are you going to try it out?
Leave a comment below!